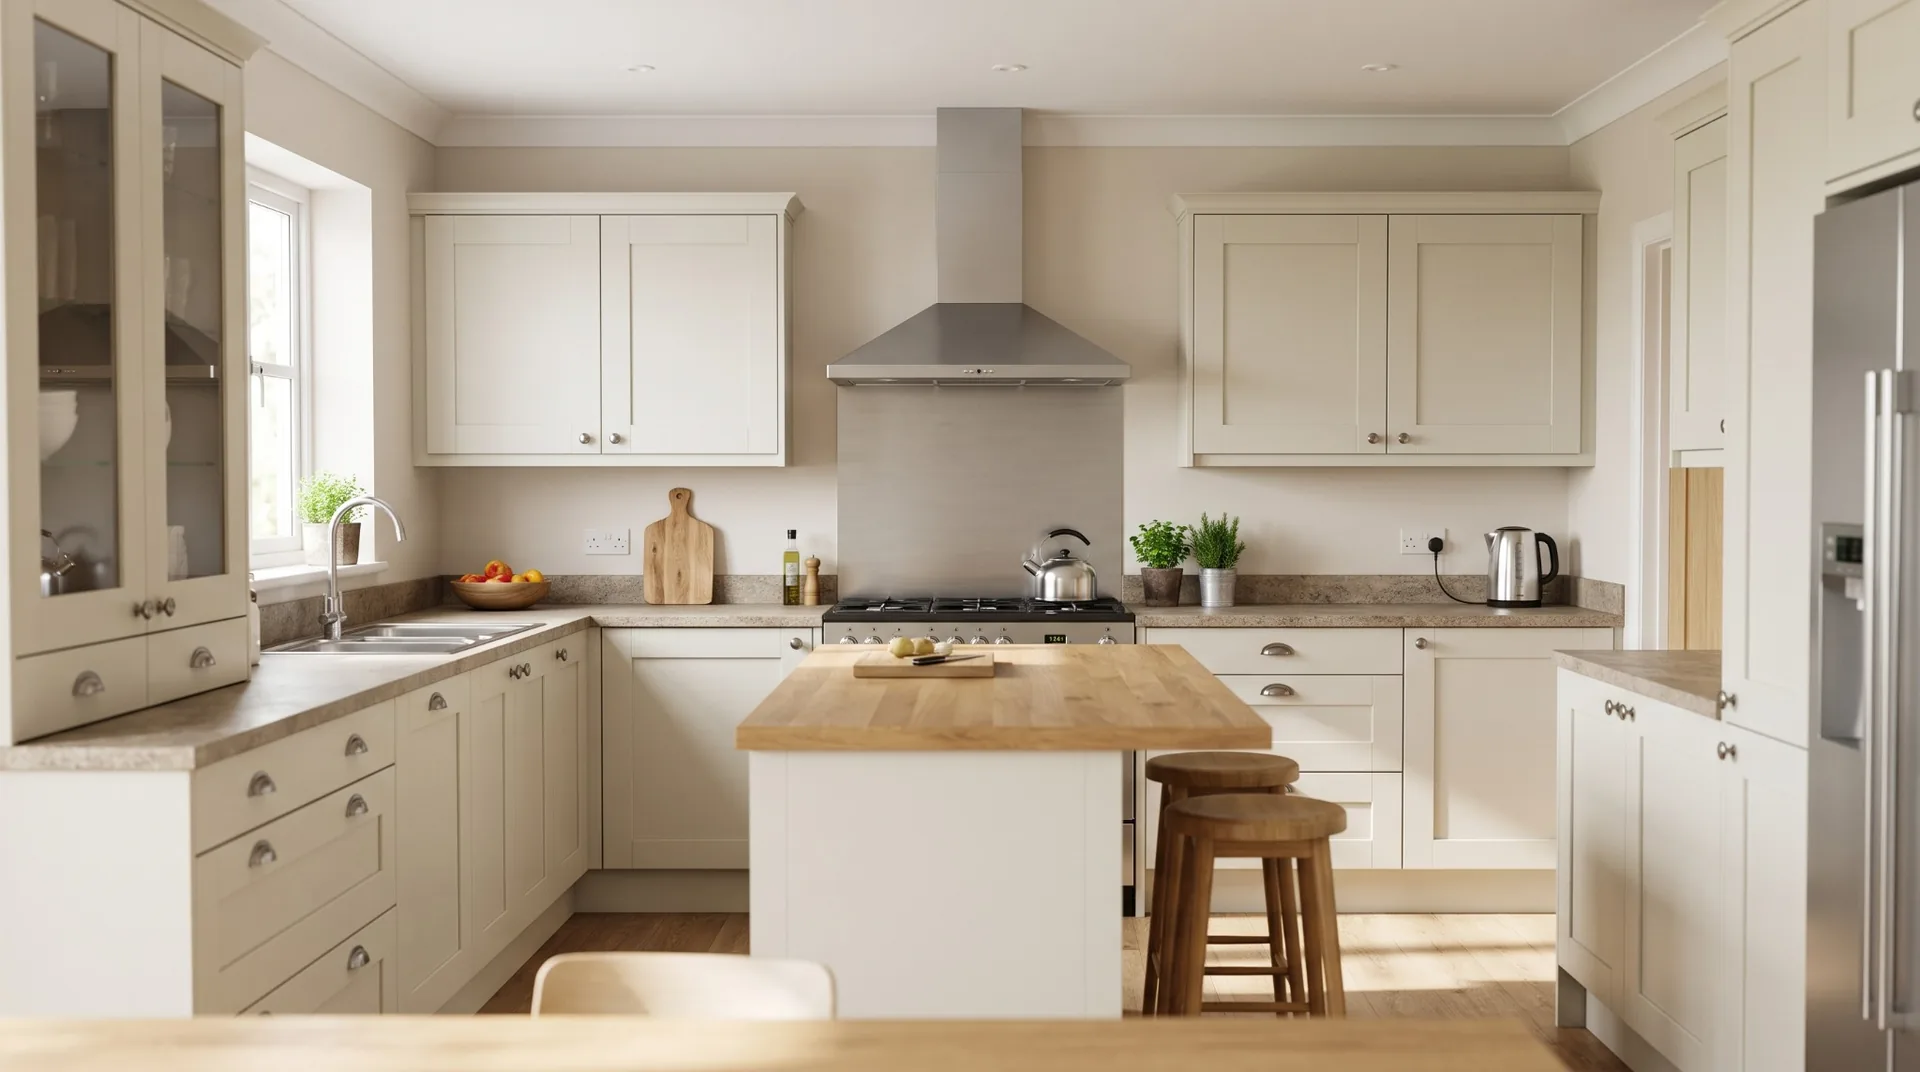
You can clean the counters every evening and still find sticky cabinet handles, grease beneath the extractor and residue around the refrigerator seals.
A thorough kitchen clean looks beyond the main surfaces. It considers what needs emptying, which components can safely come out, how the buildup should be treated, and what must be dried and reassembled before the room is ready to use.
The job is not finished when the dirt loosens. It is finished when the residue has been removed, the parts are back in place and the kitchen is ready for its next meal.
1. Estimate the work before setting aside the time
Before deciding that you can finish in an afternoon, define what "deep cleaning the kitchen" includes.
Cabinet fronts and appliance exteriors are one project. Adding every cupboard interior, oven rack, refrigerator compartment and washable ventilation filter creates a much larger list.
Count the components rather than relying only on the room's size.
| Part of the kitchen | Include in your estimate |
|---|---|
| Cabinetry | Fronts, handles, edges, accessible tops and any requested interiors. Count shelves and drawers separately from doors. |
| Cooking and extraction | Cooktop, removable burner components, hood surfaces, washable filters and any over-the-range microwave maintenance. |
| Appliance interiors | Removing contents, taking out permitted components, cleaning, drying and refitting. |
| Preparation surfaces | Counters, backsplash, sink, strainer and areas behind movable countertop appliances. |
| Finishing | Reassembly, restocking, floor cleaning, checking the result and cleaning your equipment. |
A compact kitchen can still contain many detailed tasks. Conversely, not every appliance or interior needs the same amount of attention during every visit.
Time a representative section
Choose a few cabinet fronts with comparable finishes and grease levels. Complete the whole process: handles, edges, cleaning, removal of product residue and drying.
Planning example—not a standard cleaning rate
Suppose your test averages six minutes per cabinet or drawer front.
Twenty comparable fronts would represent approximately two hours of hands-on work.
That does not include cupboard interiors, appliances, filters, counters, the sink or the floor.
Test the greasy fronts beside the cooker separately from cleaner ones elsewhere. Do not multiply the time for your easiest door—or your most difficult one—across the entire kitchen.
For a professional team, note the condition and included work alongside the time. Otherwise, two jobs labelled "kitchen clean" may be impossible to compare meaningfully.
Separate hands-on time from waiting time
Cleaning can include periods when a component is soaking, drying or cooling. Those periods may overlap with other work, but they still affect when the kitchen becomes usable.
For example, Whirlpool describes self-cleaning cycles lasting several hours on some ovens, followed by cooling and removal of the remaining ash. That is appliance operating time, not several hours of continuous manual scrubbing. Whirlpool Canada: self-cleaning ovens.
Plan compatible tasks during permitted waiting periods. Use a timer for timed treatments, and leave space in the schedule for reassembly.
More cleaners do not automatically divide the finish time equally. Two people can tackle separate areas, but may still share one sink or wait for the same components to dry.
If your first completed section takes longer than expected, revise the plan early. Finish fewer areas properly rather than emptying every cupboard and leaving several appliances unusable.
2. Prepare the kitchen so the work can move forward
Clear the surfaces you will work on and remove exposed food, dishes and utensils. Empty one storage section at a time unless you have enough clean space for everything.
Set up two distinct areas: a washable tray for dirty removable components and a clean, dry place for finished parts.
Gather fresh soft cloths, suitable brushes, a vacuum with an appropriate attachment, a mop and the products selected for your surfaces. Keep sink-strainer and bin-cleaning tools separate from those used on food-preparation surfaces.
Photograph unfamiliar removable components before taking them out. Keep each appliance's parts and fasteners together.
For teams, assign responsibility for putting parts back—not just taking them out. A clear handover prevents someone assuming another cleaner has checked the filter or refitted the shelf.
Use this general order:
Prepare → upper cabinets and extraction area → cooking appliances → refrigerator and dishwasher → appliance exteriors, counters and sink → floor → final check.
Adjust the sequence around food storage, product instructions and any appliances that need to remain available.
Before using cleaning products: Ventilate the room, follow the label's protective-equipment instructions and keep children and pets away. Never mix cleaners, especially bleach with acidic or ammonia-containing products. Clean tools before changing products so residues are not mixed accidentally. Health Canada: do not mix bleach with other cleaning products.
3. Understand why grease sometimes needs more than another wipe
A small greasy component can require more attention than a much larger, lightly soiled surface.
Cleaning depends on the interaction of the product, temperature, physical action and time. Pressing harder is only one possible change—and may be the wrong one for a delicate finish. Kärcher: the Sinner's Circle.
Complete a small test area
Identify the surface and select a compatible method. Then work through a complete pass:
Apply → allow the specified working time → gently loosen the buildup → collect the dirty residue → remove remaining cleaner as directed → dry and inspect.
A cloth loaded with grease is no longer giving you a useful view of the result. Turn to a clean face or replace it rather than continuing across the next section. Kärcher's hood-cleaning guidance specifically notes that cloths need changing as removed grease accumulates. Kärcher: cleaning ovens and extractor hoods.
If another permitted treatment is needed, remove the previous product as instructed before changing methods.
Do not compensate for slow progress by exceeding the dilution or contact time. A better assessment is more useful than an increasingly aggressive treatment.
Where professional products and steam help
At Let’s Get It Clean, we select professional cleaning agents for the surface and buildup, and use steam where the material and task allow it. The method is chosen for the individual area—not applied indiscriminately throughout the kitchen. Deep Residential Cleaning.
On a suitable stainless-steel hood surface, steam with an appropriate cloth-covered attachment can help loosen grease while the cloth collects it. Established deposits may still require repeated work and fresh cloths. Steam assists the process; it does not eliminate the need to remove the loosened residue. Kärcher: cleaning ovens and extractor hoods.
The painted cabinet beside that hood needs a different decision. Kärcher cautions against steam on painted surfaces, while cabinet manufacturers warn about excessive moisture and aggressive cleaning. Kärcher: steam-cleaner FAQs.
Steam precautions: Use only compatible surfaces and approved attachments. Keep steam away from people, electrical openings and appliance interiors not approved for it. Let hot attachments cool before handling them. Never add chemicals to a water-only tank or force open a pressurised boiler; follow the machine's shutdown, cooling and pressure-release procedure. Kärcher: steam-cleaner operating instructions.
4. Clean cabinet fronts, edges and interiors as separate tasks
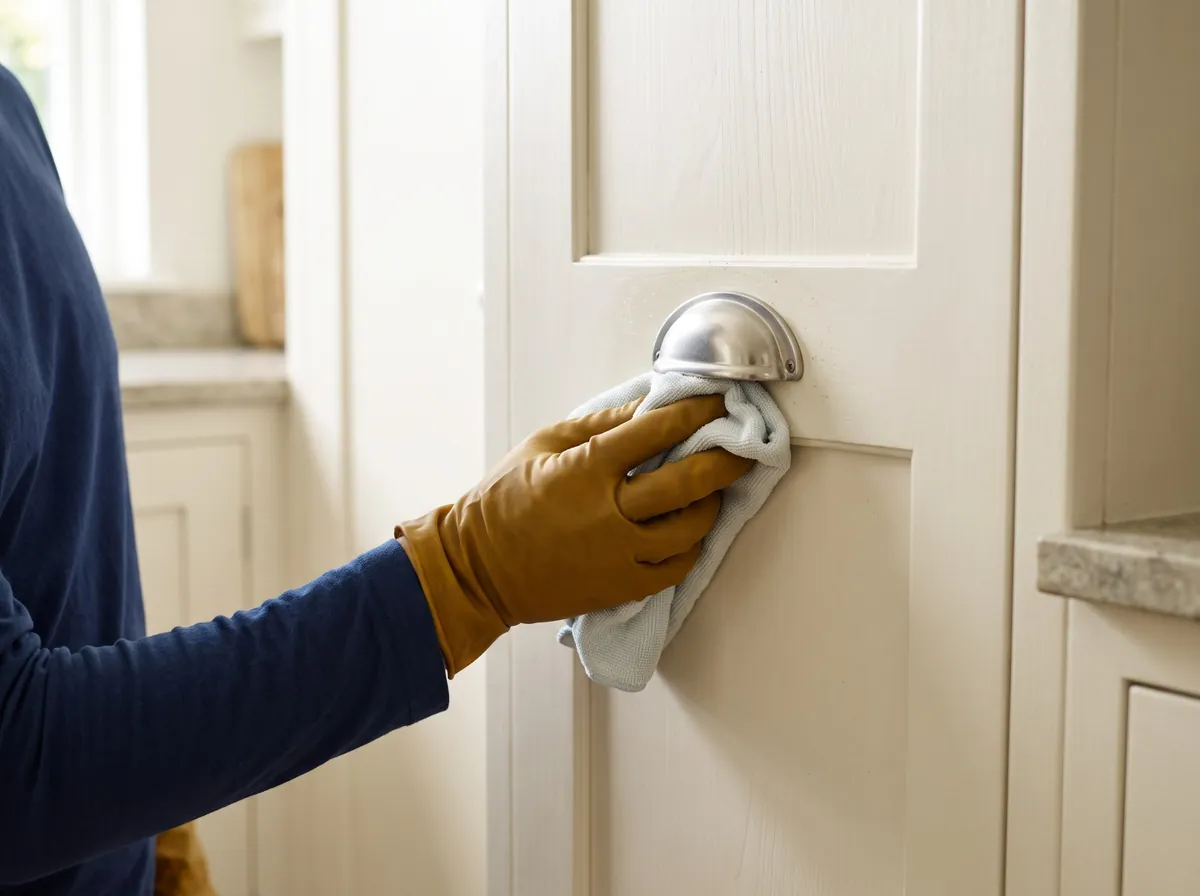
Identify the cabinet finish first. Painted wood, laminate and high-gloss fronts do not necessarily require the same cloth or treatment.
For the cabinets covered by its guidance, MasterBrand recommends a soft cloth with warm water or a mild dishwashing-liquid solution, followed by a clean damp wipe and drying. It advises against harsh cleaners and abrasive tools. MasterBrand: cabinet care and cleaning.
Work around the places hands actually touch
Start with loose dust, then complete one small section.
Clean around the handle, beneath its grip and along the door's top and bottom edges. Turn the cloth frequently, remove the cleaning solution with a separate clean damp cloth, and dry.
Open the door as you normally would. This helps identify finger-contact areas that a straight-on wipe can miss.
Keep liquid out of joints and avoid soaking the edges. Do not leave wet cloths draped over doors; prolonged moisture can damage the finish. KraftMaid: cabinet-cleaning dos and don'ts.
If the test area changes colour or sheen, stop. Do not try to make the surrounding door match by scrubbing it harder.
Treat cupboard interiors as another job
Empty the section, remove crumbs, clean the accessible shelves and corners using a suitable method, and dry before restocking.
Look beneath shelf liners and organisers where they lift out normally. Do not remove bonded liners or dismantle drawers simply to reach farther.
One cabinet section can have one or two doors. Counting doors alone will not tell you how many shelves, drawers or interior corners need cleaning.
Completion check: The front, handle and requested interior have been checked separately, with no wet surfaces being covered by returned belongings.
5. Clean the extraction area—including an over-the-range microwave
Clean above the cooktop before completing the surface below it. Otherwise, grease and dirty water from the extraction area can undo the finishing work.
A range hood contains more than a visible cover
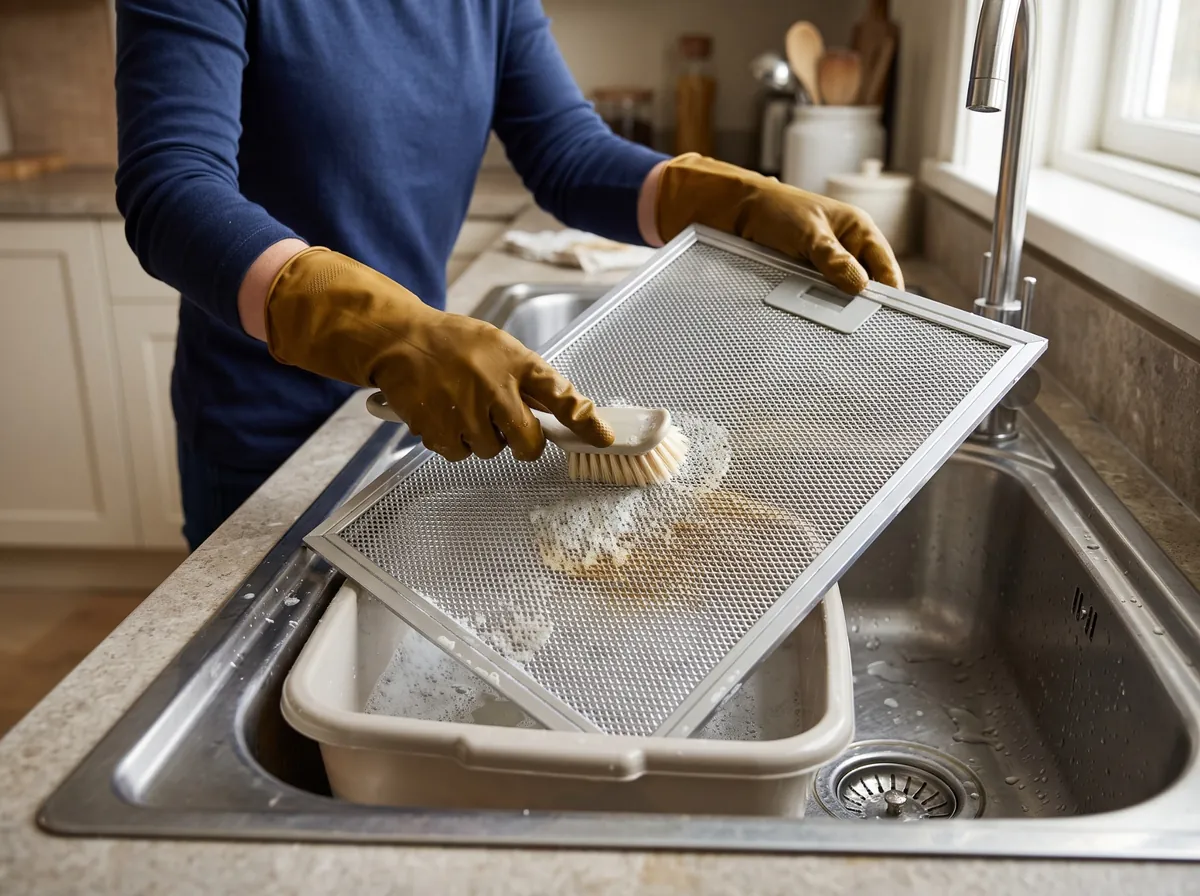
Identify the washable filters and the accessible surfaces around them. Turn off the appliance and follow its safe-access instructions before removal.
Metal grease filters and carbon odour filters are different. Broan-NuTone permits washing its metal filters but requires replacement of its standard non-ducted carbon filters. Check the particular component before putting it in water or a dishwasher. Broan-NuTone: cleaning range-hood filters.
For a washable filter, use the approved detergent and method, gently remove the loosened grease, rinse and dry before refitting. Include the filter frame and accessible hood underside, without flooding lights, controls or openings.
A manufacturer may permit dishwasher cleaning, but that does not make every detergent appropriate. Broan-NuTone notes that some detergents and water conditions can discolour aluminium filters without affecting their performance. Broan-NuTone: cleaning range-hood filters.
An over-the-range microwave has two cleaning jobs
A microwave above the cooker may also extract cooking fumes. Cleaning its cooking compartment does not address the grease filters, underside or accessible ventilation components. Some installations vent outdoors; recirculating arrangements may also use a charcoal filter. Samsung Canada: cleaning a microwave.
Break the appliance into its actual tasks:
| Component | What needs consideration |
|---|---|
| Cooking compartment | Food splashes, ceiling, turntable, turntable support and accessible door-contact surfaces. |
| Underside and exterior | Cooking grease and dust around accessible surfaces, without pushing liquid into openings. |
| Washable grease filters | Removal, treatment, rinsing, drying and correct refitting. |
| Permitted grille or filter cover | The model-specific removal method, fasteners, accessible cleaning and reassembly. |
| Charcoal filter, where fitted | Whether replacement is needed and which replacement fits the model. |
Samsung and Whirlpool provide different procedures for these components. Their standard charcoal filters are replacement items, not washable grease filters. Samsung Canada: replacing and cleaning microwave filters.
Remove only the parts intended for routine maintenance
Find the model number and its maintenance instructions before undoing anything. A grille behind the door may have a different removal method from one above it.
Disconnect power as instructed before permitted filter-cover removal. Photograph the arrangement and keep the screws together. GE's guidance illustrates why the correct model procedure matters: access and filter positioning vary. GE Appliances: microwave charcoal-filter access.
Do not remove the microwave from the wall or open its outer casing as part of this cleaning guide. Internal microwave components can remain electrically hazardous even after unplugging. Leave internal dismantling, fan servicing and electrical work to a qualified appliance technician. U.S. Consumer Product Safety Commission: microwave servicing safety.
Plan the whole component-cleaning sequence
For a washable grease filter, the work may include removal, soaking, gentle brushing, rinsing, drying and refitting. Avoid bending the mesh or frame. Follow the instructions for the particular filter rather than using force to release it. Whirlpool: microwave-filter maintenance.
While a permitted soak is underway, complete compatible exterior work. Keep cleaning liquid out of vents and controls; do not direct a steam nozzle into them. Samsung specifically warns against liquid entering microwave vents. Samsung Canada: cleaning a microwave.
Clean the cavity and turntable separately. Include the ceiling, the area beneath the turntable and accessible door-contact surfaces. Do not treat the cavity, vent grille and filters as though they share one cleaning method. Samsung Canada: cleaning a microwave.
Why the estimate changes: A microwave that looks clean inside may still need substantial attention underneath. A replacement charcoal filter may also need ordering, rather than more scrubbing.
Completion check: The agreed interior and exterior work is complete, washable components are dry and refitted, and any replacement or servicing requirement is recorded.
6. Give the cooktop and oven their own cleaning plans
Gas cooktops: keep track of removable parts
Start with a cool appliance and identify the grates and burner caps intended for removal.
Photograph their positions. Clean each component using its permitted method, then rinse and dry before refitting. GE's guidance shows that dishwasher and self-cleaning-oven compatibility varies between components and models. GE Appliances: cleaning gas-range grates and burner caps.
Work carefully around the fixed burner and ignition areas without flooding them. Do not probe gas outlets or alter fittings to remove a mark.
Glass cooktops: use the correct tools
For a planned deep clean, start with the cooktop switched off and cooled. Use its recommended cleaner and non-scratching tools. Only use a scraper when the manufacturer permits it and specifies the technique. Whirlpool: range cleaning and maintenance.
Fresh sugary spills are a separate situation: some glass-cooktop instructions require careful removal while the surface is still warm to prevent permanent marking. Follow the model's spill instructions and burn precautions rather than treating every spill as an ordinary cooled-surface clean. Whirlpool: ceramic-glass maintenance.
Oven: identify the cleaning system before applying a product
First establish whether your oven calls for manual cleaning, a particular assisted-cleaning process or a high-temperature self-cleaning cycle.
A product labelled "oven cleaner" is not suitable for every oven. Whirlpool prohibits conventional oven cleaners in some of its oven-cavity guidance. Whirlpool: routine oven cleaning.
For an approved manual clean, organise the work into separate areas: removable racks, cavity surfaces, door glass and accessible edges. Begin with loose debris, then treat manageable sections using the permitted product and tools.
Check rack intersections and accessible ledges, not just broad flat surfaces. Remove loosened residue as you go, and complete the required final wiping or rinsing before returning the appliance to use.
Keep liquid out of openings. Do not scrub, move or damage the door gasket, which is important to the seal. Whirlpool: high-temperature self-cleaning precautions.
Do not turn marks between door-glass panels into an unplanned dismantling job. Record areas outside the permitted cleaning access.
Allow for the complete self-cleaning process
A built-in cycle requires preparation, ventilation, cooling and removal of the remaining ash. Follow the instructions for racks and other removable items. Keep children away, observe the manufacturer's precautions for pets—especially birds—and never combine an oven-cleaning chemical with the cycle unless expressly permitted. Whirlpool Canada: self-cleaning ovens.
Completion check: The agreed areas are cleaned, product residue has been removed as directed, components are refitted and all required cooling or aftercare is complete.
7. Clean the refrigerator without creating a food-storage problem
Prepare somewhere cold for perishables before emptying the appliance. Use another refrigerator or an appropriately packed cooler, and keep chilled food at 4°C or below. Do not leave it on the counter while cleaning the rest of the kitchen. Health Canada: food safety.
Photograph shelf and drawer positions, then follow the appliance's instructions for switching off cooling or disconnecting power during the work.
Look beyond the shelf's upper surface
Check drawer corners, shelf supports, accessible channels and door-seal folds.
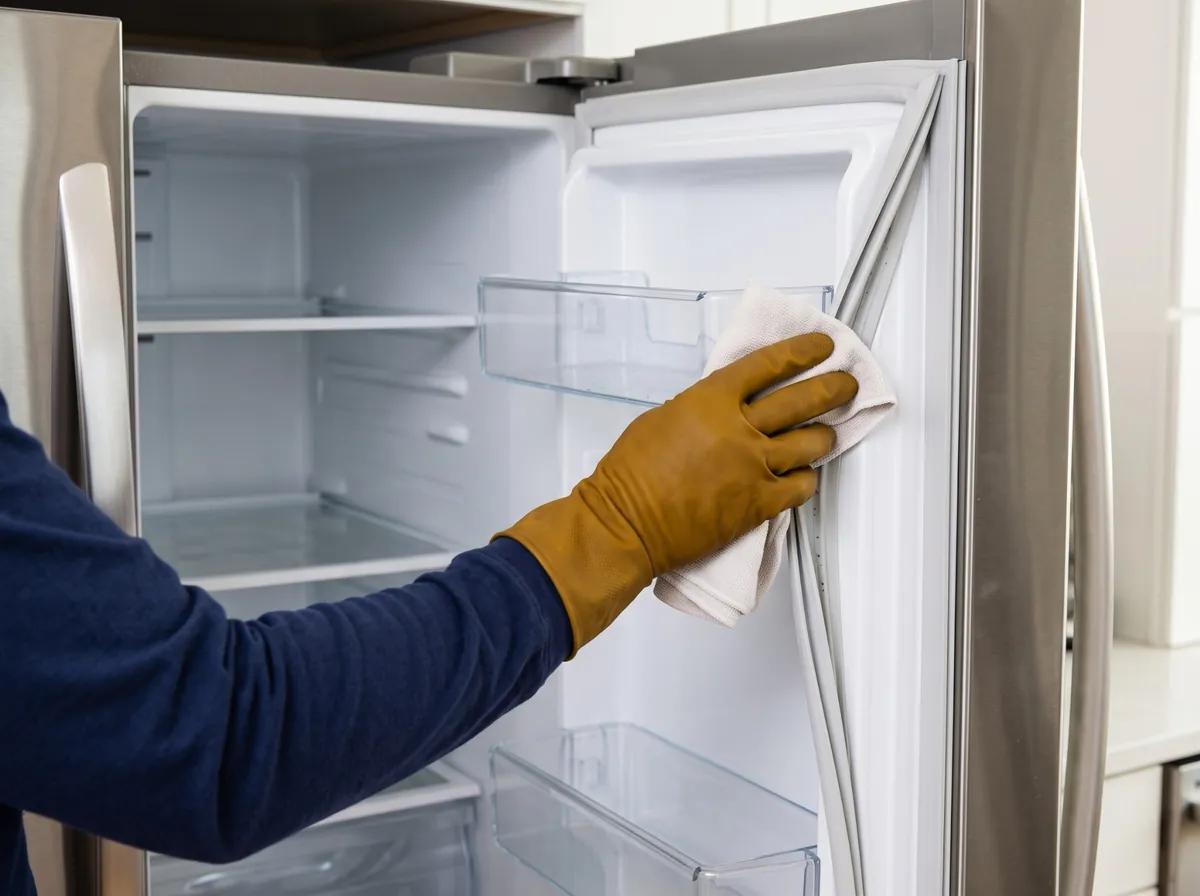
Remove only the parts intended to come out. Let cold glass reach room temperature before washing with warm water; sudden temperature changes can break it. Shelves incorporating electrical components need particular care. Whirlpool: refrigerator-interior cleaning.
Wash permitted components with the recommended mild method. Clean the interior and seals without flooding vents, seams or controls, then remove residue and dry. Whirlpool recommends applying cleaning solution to a cloth rather than spraying sensitive areas directly. Whirlpool: cleaning the refrigerator interior.
Do not force apart a shelf frame to reach a spill trapped between bonded pieces. That is an access question, not a reason to pull harder.
Reassemble before returning the food
Confirm that shelves are supported and drawers move correctly. Restore cooling, and keep perishables in cold storage until the refrigerator is ready to maintain the required temperature.
Wipe sticky container bases before returning them. Store raw meat and seafood contained and below ready-to-eat food so leakage cannot drip onto it. Health Canada: safe food handling at home.
Completion check: Components are dry and secure, the seal closes normally, cooling is restored and the food has remained safely chilled.
8. Clean the dishwasher filter—and check its reassembly
First identify whether the dishwasher has a filter intended for routine removal. Some systems differ substantially; do not dismantle an unfamiliar filter simply because a similar-looking one twists out. Whirlpool: removable dishwasher-filter cleaning.
Photograph the arrangement and follow the model's removal instructions. Check the visible area for debris, but do not reach blindly into the sump.
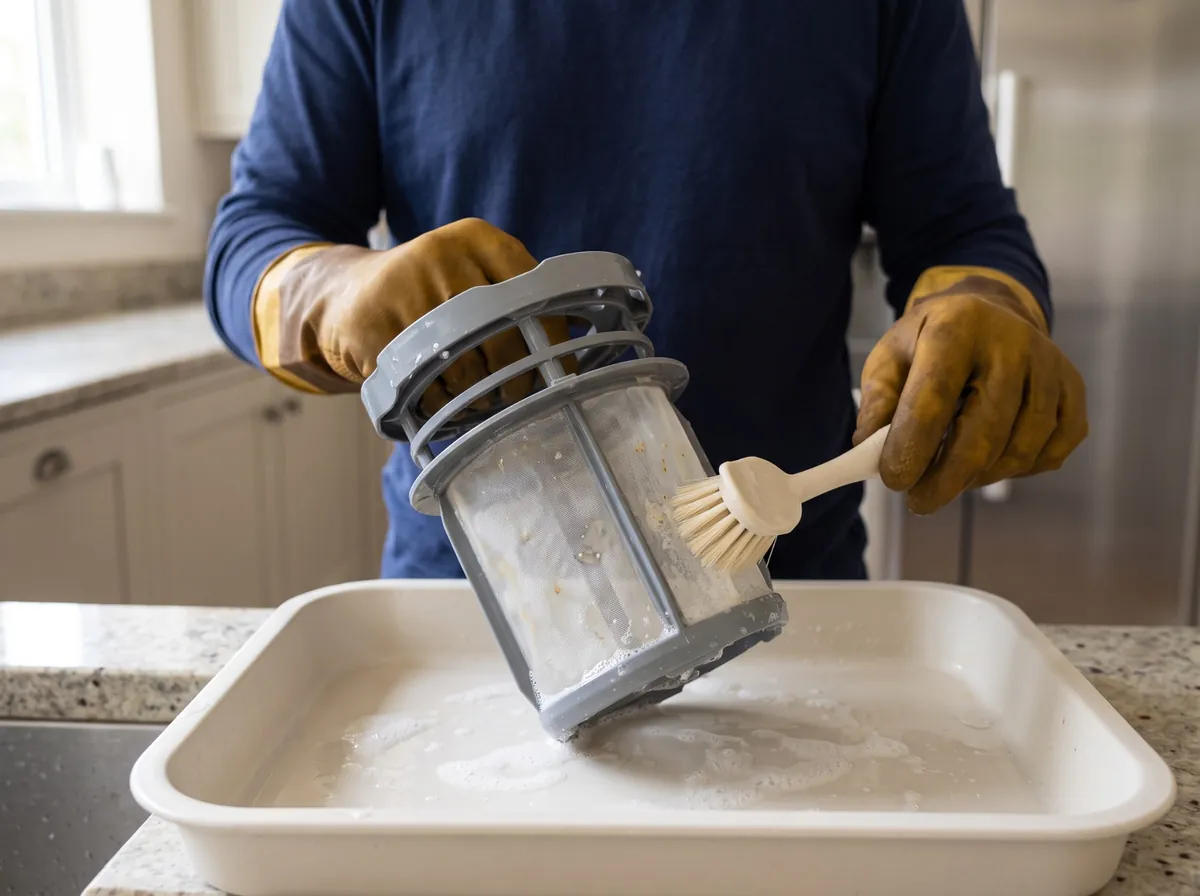
Clean the removable components with running water and a suitable soft brush where needed. Work around the mesh and accessible creases without using wire brushes or abrasive pads that could damage them. Whirlpool: removable dishwasher-filter cleaning.
Wash any permitted separate sections individually, then inspect them before reassembly. The outside can look clean while residue remains between components.
Reinstallation is part of the job. Whirlpool warns against operating the dishwasher without correctly installed filters. Confirm the locking arrangement rather than assuming that a filter resting in its opening is secure. Whirlpool: removable dishwasher-filter cleaning.
Finish the accessible door edges and any other areas identified in the maintenance instructions. Run an approved maintenance cycle only after reassembly; do not improvise a mixture of appliance cleaner and other household chemicals.
9. Finish appliance exteriors, preparation surfaces and the sink
Complete these areas after the main dirty-component work. Otherwise, a greasy filter or used tray can end up back on a freshly cleaned worktop.
Appliance exteriors: check the finish before polishing
A stainless-looking door may have a fingerprint-resistant coating.
GE, for example, specifies mild soap and water for its fingerprint-resistant stainless steel and advises against conventional stainless-steel cleaners on that finish. GE Appliances: fingerprint-resistant stainless-steel care.
Use the appropriate soft cloth and method, remove residue as directed and dry. Include handles and accessible door edges. Inspect from the side as well as straight on before deciding that streaks need another product.
Countertops and backsplash: protect them from adjacent work
Move countertop items one at a time, cleaning their bases before returning them.
Treat the worktop according to its material. Cambria recommends mild care for its quartz and warns against oven cleaner, harsh chemicals and abrasive pads. Protect it from drips while cleaning neighbouring appliances. Cambria: quartz product care.
For natural stone, identify the material before treating marks. Acids can etch marble and other sensitive stone; excess cleaner can also leave a film. Remove residue and dry before judging the result. Natural Stone Institute: care and cleaning.
Include the counter's front edge and the joint with the backsplash. Clean accessible joints gently rather than forcing tools under sealant.
Sink and strainer: clean both sides of the removable component
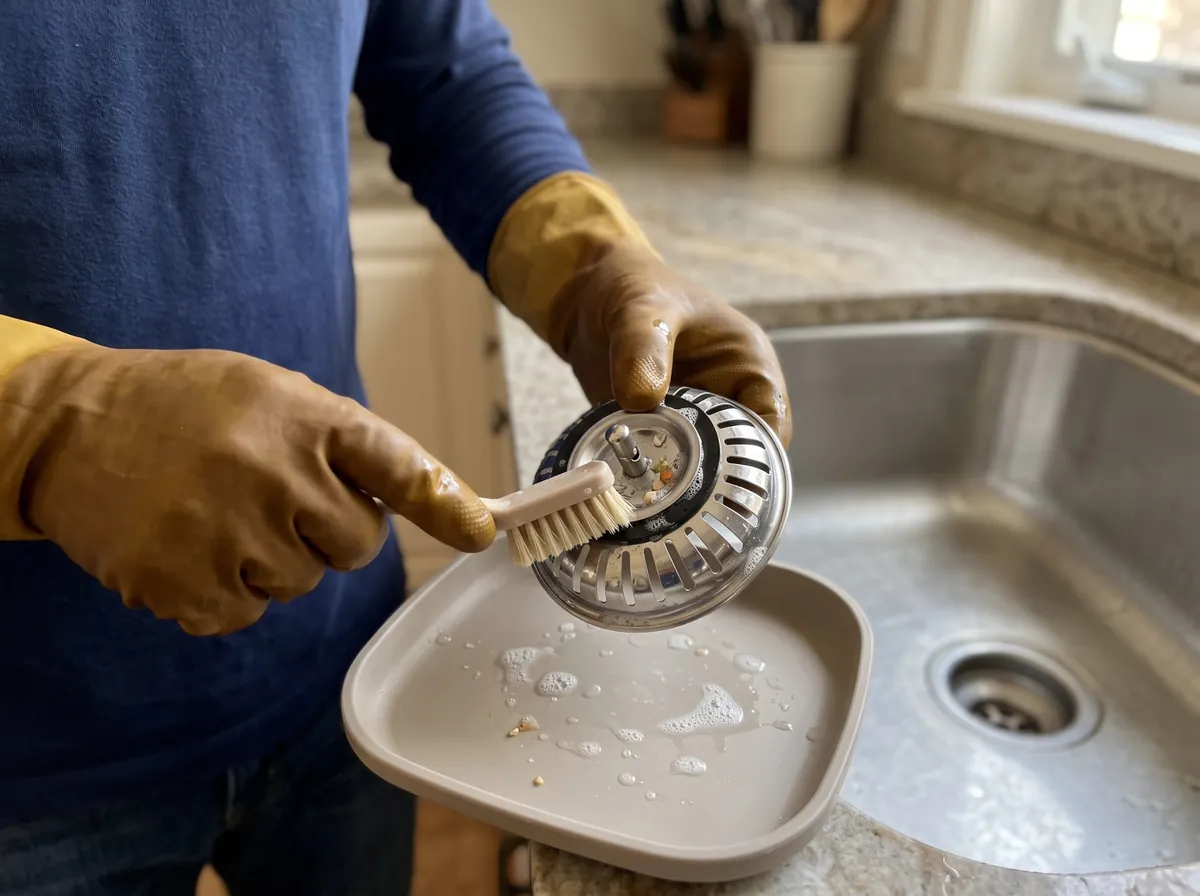
Lift food scraps into the bin. Remove the basket strainer where designed to lift out, then use a dedicated brush to clean its underside, slots and accessible seal.
Wash it over a tray rather than placing the dirty component among clean utensils. Rinse, inspect and return it without disturbing the fixed drain fitting.
For a brushed stainless-steel sink, BLANCO recommends cleaning and drying in the direction of the finish. Other sink materials and tap coatings need their own method. BLANCO: stainless-steel sink care.
Complete the tap base, handles and accessible rim. Clean the sink again after washing greasy filters or other dirty components in it.
Do not disconnect pipework or reach into a waste-disposal unit as part of this routine. Persistent drainage problems need separate assessment.
Make food-preparation surfaces ready to use
After cleaning, complete any appropriate sanitising step with a product suitable for the surface and labelled for food-contact use. Follow its contact-time and rinsing instructions.
Health Canada recommends sanitising preparation surfaces and utensils as directed; sanitising does not replace the earlier removal of dirt and grease. Health Canada: food safety.
10. Finish the lower details and floor
Check the bin lid and handles, lower fronts, kickboards and accessible appliance edges. Change cleaning materials after handling the bin.
Remove loose floor debris, then use the cleaner and method appropriate to the floor. Lift away dirty solution, remove residue as directed and leave the area ready to walk on. For stone flooring, the Natural Stone Institute advises changing rinse water frequently and avoiding excessive cleaner. Natural Stone Institute: care and cleaning.
Do not pull out a connected cooker, built-in refrigerator or dishwasher simply to complete a checklist entry. Identify what can be reached safely and arrange separate help where moving an appliance requires disconnection or specialist handling.
Recognise when another treatment is not the answer
| What you find | What to do next |
|---|---|
| A washed aluminium filter remains grey or discoloured | Do not assume it is still greasy. Some discolouration does not affect filter performance. Broan-NuTone. |
| An oven retains pale spots or an altered surface | Reassess before scrubbing harder. Whirlpool identifies staining, etching and pitting as possible changes to porcelain cavities. Whirlpool. |
| A dishwasher filter will not seat securely | Stop and check the assembly instructions before operating it. A washed but incorrectly installed filter is not a completed job. Whirlpool. |
Thorough cleaning means removing the contamination—not endlessly treating wear as though it were dirt.
A practical example: the kitchen still needs to serve dinner
Imagine a kitchen with sticky cabinets, an over-the-range microwave needing filter attention, a refrigerator due for cleaning and an oven with substantial buildup.
Start by identifying the work and available time. Keep refrigerated food cold until you are ready to complete that appliance as a separate task.
Finish the upper cooking area first: the relevant cabinets, permitted microwave components and cooktop. Use approved soaking periods for compatible nearby work, with timers where required.
Clean the dirty-parts tray and sink before moving to refrigerator components. Complete the refrigerator, restore it, then finish the preparation surfaces and floor.
If the oven's full cleaning and aftercare will not fit, leave it for another planned session.
This is an illustrative workflow, not a promised duration. Its purpose is to leave a usable kitchen instead of several unfinished projects.
Your kitchen deep-cleaning completion checklist
Kitchen deep-cleaning completion checklist
Use this while the areas are still accessible. Mark only the work actually completed.
| Area | Completion check | Done |
|---|---|---|
| Cabinet fronts | Handles, edges and profiles checked; cleaner removed; surfaces dry. | |
| Requested cupboard interiors | Shelves, drawers and corners completed before restocking. | |
| Hood or microwave extraction area | Agreed accessible surfaces completed; washable filters dry and refitted; replacement needs recorded. | |
| Microwave compartment | Ceiling, turntable area and accessible door-contact surfaces checked. | |
| Cooktop | Surface and permitted removable components cleaned and correctly refitted. | |
| Oven | Agreed areas completed; residue-removal, cooling and aftercare steps finished. | |
| Refrigerator | Shelves, drawers and seals checked; cooling restored; food kept safely chilled. | |
| Dishwasher | Requested component cleaning completed; filters correctly installed. | |
| Exteriors and counters | Handles, edges, backsplash and areas behind moved items checked. | |
| Sink and strainer | Removable component, tap base and accessible rim completed; preparation area ready to use. | |
| Lower details and floor | Bin, kickboards and accessible edges completed; residue removed. | |
| Outstanding work | Inaccessible areas, replacement parts, damage or servicing needs recorded. |
Let’s Get It Clean · letsgetitclean.ca/blog/kitchen-deep-cleaning-guide/
For professional cleaners, record which components were removed and refitted, where a test treatment was unsuccessful and what remains outside the agreed work.
A final walkthrough should answer what was completed, what is ready to use and what still needs attention.
Keep the next deep clean manageable
Check cabinet handles, the extraction area, refrigerator seals and removable filters during your regular routine. Follow appliance-specific maintenance schedules rather than applying one cleaning interval to everything.
Cooking habits matter: Broan-NuTone recommends more frequent filter cleaning when cooking produces more grease, while KraftMaid highlights cabinets near cooking and wet areas for regular attention. Broan-NuTone: filter maintenance.
Keep a short record of successful products and methods, together with appliance model numbers. The next clean can begin with that information instead of another round of trial and error.
Professional kitchen detailing with Let’s Get It Clean
When requesting a residential deep clean, share photographs of the difficult areas and identify the interiors you want included. Mention sticky cabinets, established oven residue, extraction filters and any components that may need special access.
At Let’s Get It Clean, kitchen detailing includes accessible counters, backsplashes, stovetops, cabinet fronts and appliance exteriors. Oven, refrigerator and cabinet interiors are separately priced additions. Deep Residential Cleaning.
We prepare fresh cleaning supplies, select professional products and compatible equipment for the work, and have every completed clean checked by a team lead. Safely removable components are considered within the agreed scope; internal appliance, electrical, plumbing and duct servicing are separate from our cleaning service. Our deep-cleaning process.
Share the work you want completed—not just the room's size—so we can plan the team, equipment and time around it.
AI-generated illustrations; not photographs of completed customer projects.
Kitchen deep cleaning: a quick summary
- Budget for the whole job. Count components and include preparation, treatment, drying and reassembly.
- Match the method to the surface. Professional products and steam help where suitable—not everywhere.
- Look beyond visible panels. Filters, handles, seals and safely removable parts need their own attention.
- Protect food and clean areas. Keep perishables cold and separate dirty-component tools from preparation surfaces.
- Check before calling it finished. Remove residue, refit parts correctly and identify anything needing replacement or specialist attention.