
A bathroom can look clean at first glance while still needing attention around the shower tracks, beneath the sink stopper or behind the toilet-seat hinges.
A thorough clean works through those details in a sensible order. Identify the surfaces, remove the loose dirt, treat the buildup, collect the dirty residue and check the finished room.
1. Prepare the room and choose your cleaning order
Remove toiletries, bins, bathmats and anything sitting on the surfaces. Put washable towels, mats and shower curtains aside for laundering according to their care labels.
Gather clean soft cloths, non-abrasive sponges, suitable detail brushes, a squeegee, a mop, a toilet brush and a small washable tray for removable drain components. A steam cleaner is optional—you can complete the work with suitable cleaners and brushes when steam is unavailable or inappropriate.
Keep separate tools for the toilet, drain components and other bathroom surfaces. Do not clean a drain stopper and then use the same brush around the tap.
Use this working order:
Inspect → remove dry dust and hair → shower and bath → basin and drain components → mirrors and details → toilet → floor → final check.
Complete high-level dusting while the floor is still dry. Leave the final floor wash until the other work is finished.
Before opening any cleaner: Ventilate the room, keep children and pets away, and wear the protection specified on the label. Never mix cleaning products, including bleach with descalers or toilet cleaners. Health Canada: household chemical safety.
Check the surfaces before choosing a product
Identify the bath, basin, shower glass, tile, grout and metal finishes. Look for care instructions, model information or installation records when something is unfamiliar.
A product that works on one surface may damage the material beside it. Acidic descalers can etch acid-sensitive stone, while abrasive products can scratch some finishes. Keep products containing vinegar, lemon or other acids off marble, limestone and similar sensitive stone. Natural Stone Institute: care and cleaning.
For professional cleaners: Record existing damage, unfamiliar materials and the result of your test patch. Those notes make the final walkthrough clearer and help the next cleaner avoid repeating the assessment.
2. Identify the buildup before treating it
Different marks need different approaches. Use appearance as a clue, not a definite diagnosis.
| What you notice | What it may be | Where to start |
|---|---|---|
| A dull film or bathtub ring | Soap scum and personal-care residue | A compatible soap-scum cleaner and soft cleaning tool |
| White spots or crust near water | Mineral deposits | A surface-approved mineral-deposit treatment |
| Streaks after wiping | Remaining dirt or cleaning-product residue | Rinse and dry with a fresh cloth |
| Darkened grout | Surface dirt, staining or another underlying issue | Clean a small section and inspect it after drying |
| A dull or scratched patch that does not improve | Residue, wear or damage to the finish | Reassess before using stronger products or more pressure |
Soap scum and mineral deposits often occur together: hard-water minerals react with soap, while mineral scale can also accumulate around wet areas. Removing the first layer may reveal something that needs a different treatment. USGS: hardness of water.
Test a small area first. Complete the cleaning, rinsing and drying of that patch before deciding whether to continue.
3. Clean shower glass, frames and tracks
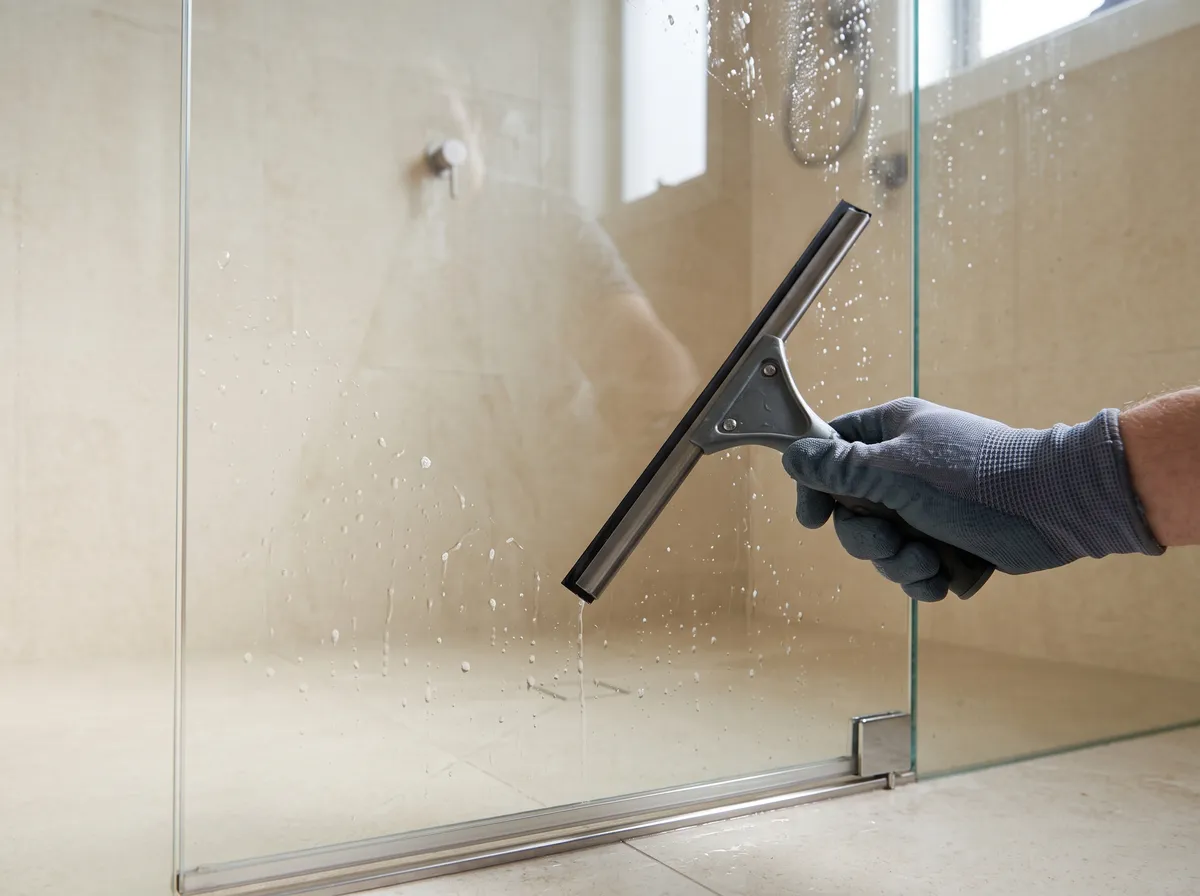
Start with a cleaner and soft cloth or sponge approved for the enclosure. Work on a manageable section, rinse it and dry it.
If the film clears but white spots remain, assess whether a separate mineral-deposit treatment is permitted. Remove the first product completely before changing treatments.
Avoid abrasive pads, blades and metal brushes unless the manufacturer expressly permits the particular method. Shower-glass coatings and surrounding hardware may have different restrictions. DreamLine, for example, warns against abrasive tools on its glass and acidic cleaners on its hardware. DreamLine: product maintenance.
Check the details around the glass as well: the lower edge, handles, accessible seals, frame corners and tracks. Lift out loose debris before wiping the track; do not simply push it into an opening.
Finish by looking through the glass from both sides. A mark on the opposite face can make a completed section appear unfinished.
Your finish check: The cleaned section has been rinsed, dried and inspected, with any remaining marks identified rather than repeatedly scrubbed.
4. Clean tile and grout—and use steam selectively
Start with a suitable cleaner and brush
Choose a product compatible with both the tile and grout. Apply it to a small section, allow the specified working time, and use a suitable soft brush to loosen the dirt.
Then remove the dirty liquid and rinse as directed. Loosening the dirt is only part of the job; collecting it is what removes it from the room. Daltile's care guidance specifically emphasises clean rinse water and removal of cleaning residue. Daltile: ceramic and porcelain care.
Let the section dry before comparing it with the surrounding area. Do not assume that all grout should become white; work towards its original appearance.
When steam cleaning is useful
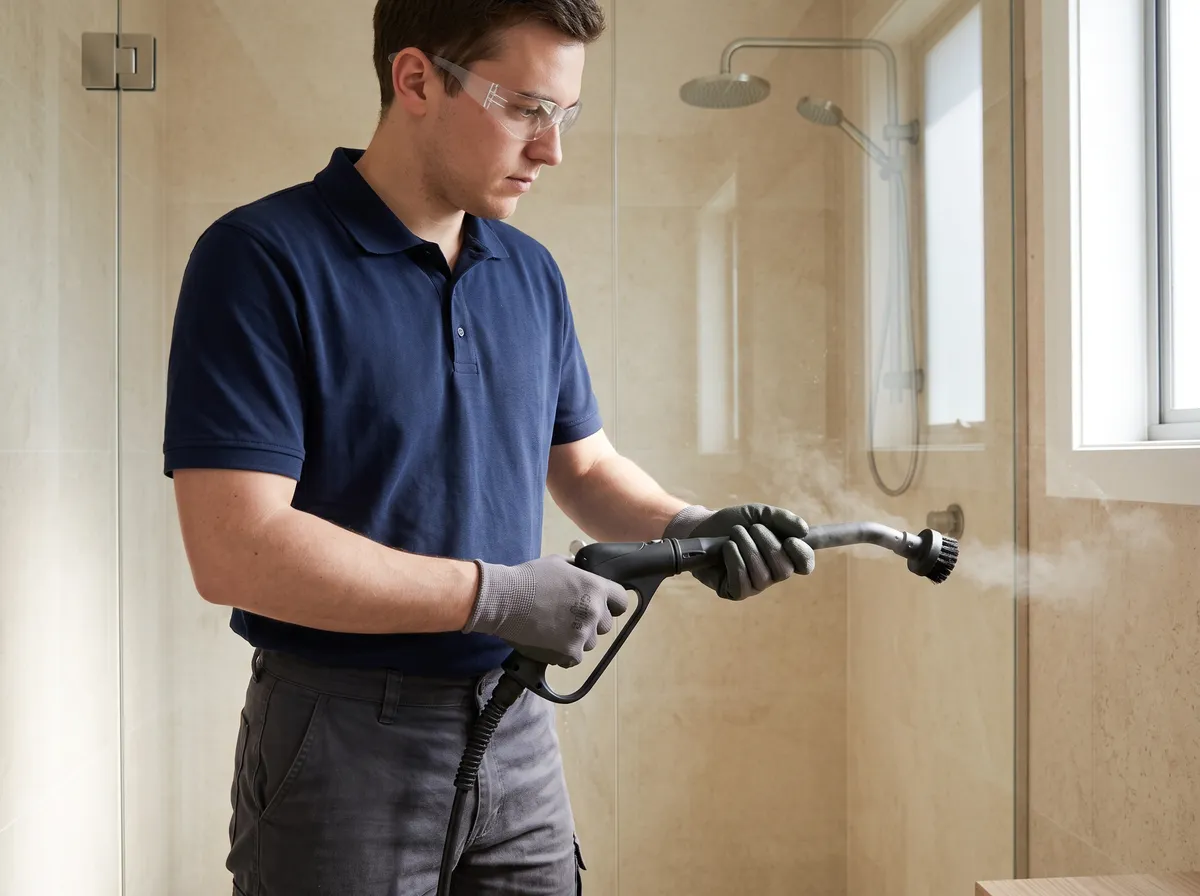
Steam can be particularly useful for lifting embedded surface dirt from compatible grout lines. A detail nozzle with an appropriate brush combines heat and gentle agitation, after which the loosened residue needs wiping away. Kärcher: cleaning joints.
First, check that the tile, grout and any sealer or colour coating permit steam cleaning. A sealed grout line is not automatically steam-safe. MAPEI cautions that certain premixed grouts can be affected by extended high-temperature exposure. MAPEI: steam cleaning tile and grout.
Avoid steam treatment on cracked, loose or deteriorating joints. For recently installed or repaired grout, check the product's curing and care instructions before proceeding.
How to steam-clean suitable grout
After confirming compatibility, start with an inconspicuous test area.
Fit the recommended detail attachment, use the appropriate steam setting and work along a short section with light pressure. Keep the tool moving rather than concentrating heat in one place.
Stop the steam, move the tool safely aside, and collect the loosened dirt with a clean cloth. Keep your wiping hand out of the steam path. Repeat in small sections and inspect the result after drying. Kärcher: steam-cleaning joints.
Use particular care at silicone joints. They are more delicate than mortar grout; aggressive brushing or a concentrated power nozzle can damage them. Do not treat them as an extension of the grout line. Kärcher: silicone-joint care.
Steam-cleaner precautions that matter
Check the machine before starting. Read the model's instructions, inspect the cord, hose and attachments, and check for outstanding safety notices. Use only correctly fitted, approved accessories; unexpectedly detached attachments can release hot water or steam. CPSC: steam-cleaner attachment recall and burn hazard.
Fill it correctly. Use the water type and fill level specified for the machine. Do not add detergent, bleach, vinegar, fragrance or disinfectant to a water-only tank. Keep any manufacturer-approved descaling procedure separate from normal cleaning. BISSELL: Steam Shot cap and filling guidance.
Keep heat and electricity under control. Point steam away from people, pets, sockets and electrical fittings. Keep the power unit and connections dry, and allow hot attachments to cool before handling them. Wear the protective equipment specified for the machine and task. Kärcher: steam-cleaner safety instructions.
Never force open a pressurised boiler. Follow the shutdown, cooling and pressure-release procedure before opening its cap. A refillable reservoir on some machines is not the same as a pressurised boiler; use your model's procedure rather than guessing. BISSELL: Steam Shot cap safety.
Control the work area. Keep the hose clear of your feet, collect wet residue promptly and stop if steam escapes from an unexpected place. Use steam only on surfaces confirmed to tolerate the heat and moisture. BISSELL: Steam Shot surface guidance.
A note on disinfection: Steam is a cleaning tool, not proof that a surface has been disinfected. A disinfection claim requires the particular equipment, attachment and application conditions that support that claim—not simply a visible cloud of steam. Kärcher: thermal disinfection.
5. Clean the bath, basin, taps and showerhead
Baths and shower bases
Clean the waterline, corners, ledges and areas beneath bottles using a product suited to the material. Rinse away the loosened residue before deciding whether further treatment is needed.
Do not assume that every white bath has the same surface. Acrylic and refinished finishes need their own care instructions; avoid abrasive tools that can scratch or dull them. DreamLine: surface maintenance.
Basins and taps
Work around the basin, the tap bases, handles and accessible underside of the spout. Clean the visible overflow opening as well.
Apply cleaner in a controlled way and avoid flooding fittings. Hansgrohe recommends applying its approved cleaner to a soft cloth rather than spraying the tap directly, followed by rinsing and drying. Even the cloth matters: its guidance advises against microfibre on the finishes covered by those instructions. Hansgrohe: care tips for faucets.
Use finish-specific instructions for descaling. Do not automatically wrap every tap in a vinegar-soaked cloth.
Showerheads
Check the outlets and accessible exterior. Some showerheads have flexible nozzles designed for easy removal of deposits; other models require a different method.
Only remove parts that the manufacturer identifies as serviceable, and follow its cleaning and reassembly instructions. Avoid soaking the whole fitting simply because that method worked on another showerhead. Hansgrohe: care tips for showers.
6. Clean inside the removable sink and shower drain components
A clean basin or shower tray does not mean the parts underneath its drain cover are clean.
Hair can combine with soap, oils and other residue around a stopper or hair catcher, contributing to poor drainage. Overlooked drain and overflow areas can also be sources of bathroom odours. Geberit: integrated hair catchers and bathroom odour sources.
Removing the appropriate cover or stopper is sometimes necessary to clean these areas properly. The key is identifying which components are designed to come out for routine maintenance.
Check how the assembly comes apart
Photograph the arrangement before removing anything, and keep small parts together in a tray.
Sink stoppers are not all the same. Some lift out, some twist to release, and others connect to a rod underneath the basin. Delta's instructions describe several different mechanisms, so pulling harder is not a reliable method. Delta: removing sink stoppers.
For a shower, consult the instructions for its grate and hair catcher. Some lift out for cleaning; others have fasteners. Do not loosen the drain body, waterproofing connection or surrounding seal.
Check what has already been used: Do not begin dismantling or scrubbing a drain that may still contain chemical drain cleaner. Follow the product's safety instructions, and tell a plumber what was used if further help is needed. Never add another cleaner to an unknown chemical residue. Health Canada: household chemical safety.
A practical cleaning sequence
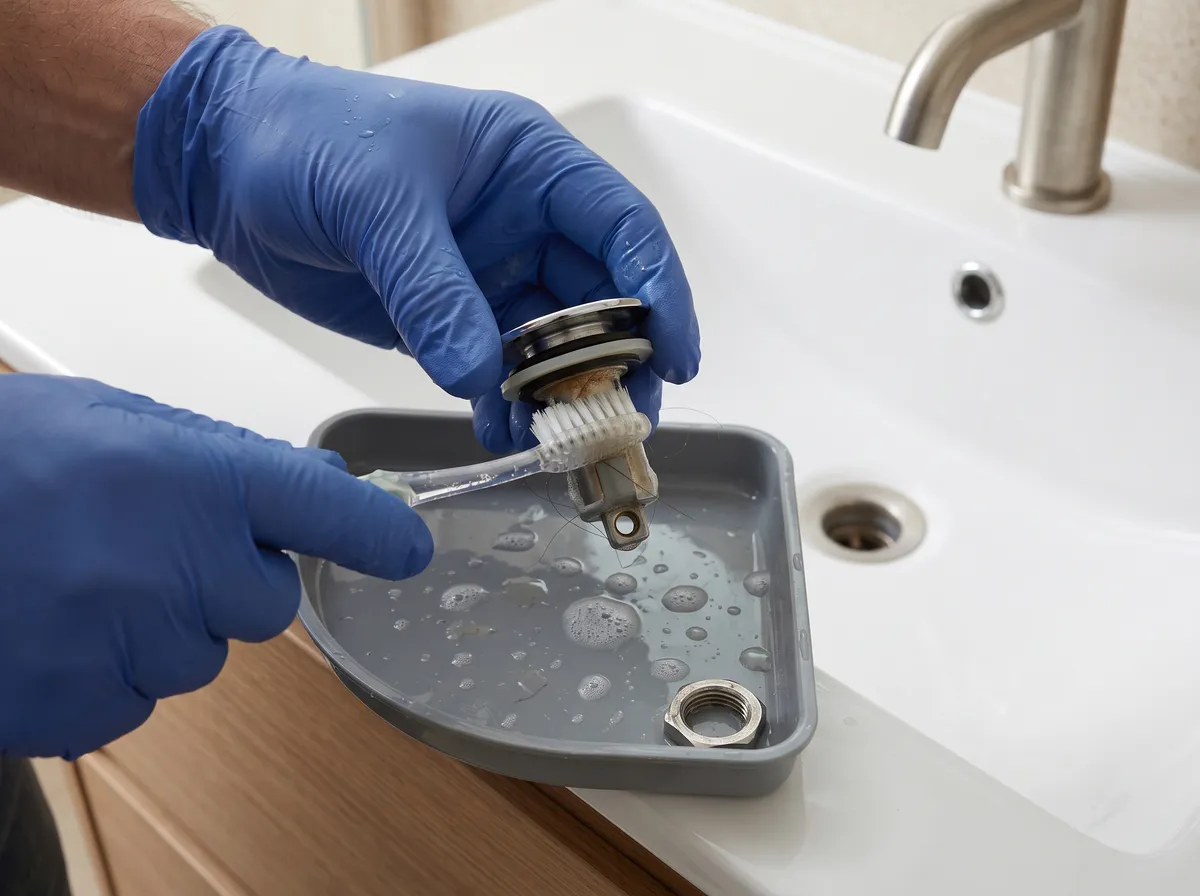
Remove the hair first. Lift trapped hair and larger debris from the removable component and put it in the bin. Avoid pushing it farther into the drain.
Wash the component. In a dedicated washable tray, clean the underside, stem, slots and accessible recesses with a compatible detergent and small brush. Remove the slippery residue as well as the obvious hair.
Clean the accessible surrounding area. Wipe the drain rim and the surfaces exposed by the removed part. Keep the work within what you can reach safely; this is not an instruction to probe or dismantle the pipework.
Rinse and inspect. Check the cleaned component for remaining residue and damaged seals before putting it back. Removable shower hair catchers are specifically intended to allow this kind of regular removal of hair, soap and dirt. Geberit: cleaning removable hair catchers.
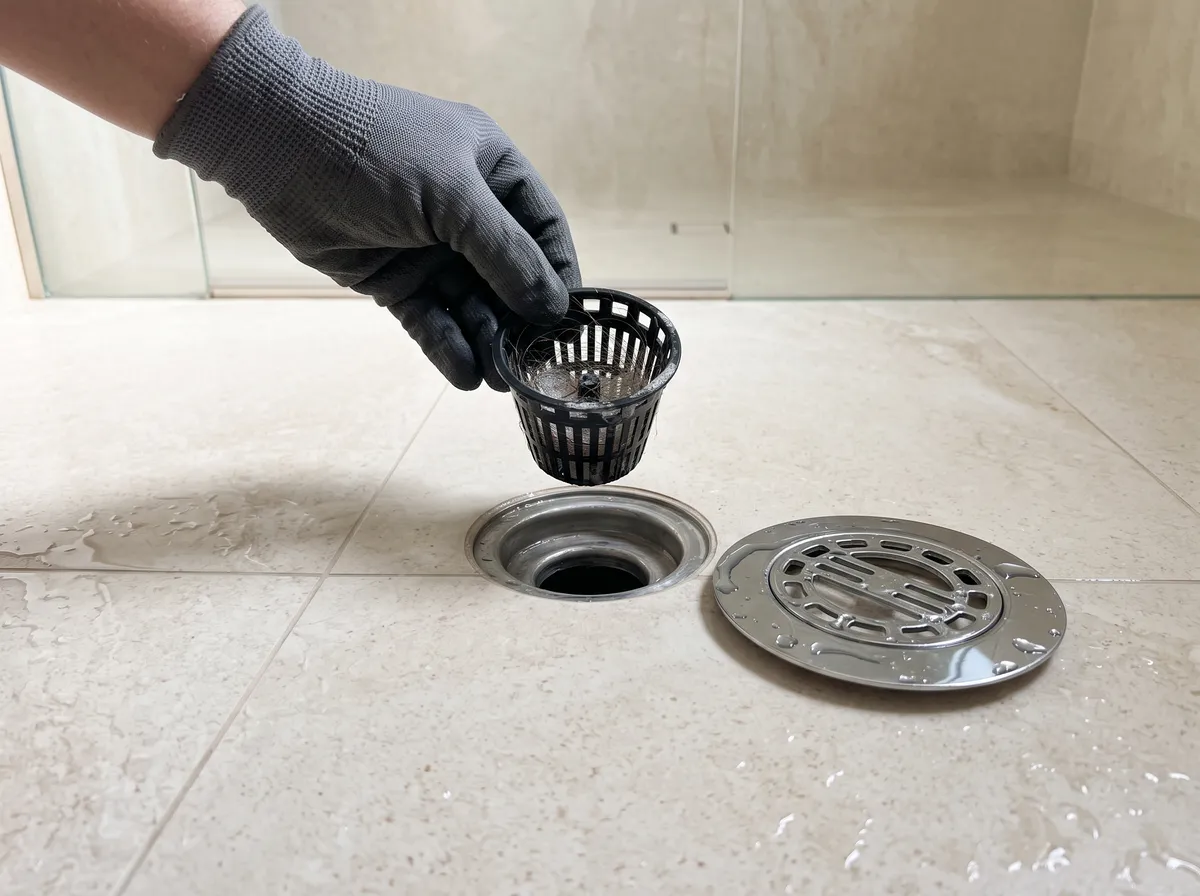
Sanitise or disinfect where appropriate. After cleaning, use a product labelled for the component's material and intended use. Follow its dilution, wet-contact time and rinsing instructions. Sanitising or disinfecting does not replace physically removing the buildup. CDC: cleaning and disinfecting your home.
Reassemble and test. Refit every component in its original position. Run water, check drainage and operate the stopper. Clean any splashes from the basin or shower tray before moving on.
Keep drain-cleaning tools separate, and change or clean your gloves before returning to taps, handles and other surfaces.
What about the sink overflow?
Clean the visible opening and follow the basin manufacturer's instructions for any accessible internal cleaning. The overflow can retain residue and contribute to odours, but its internal shape and access vary. Avoid forcing tools or pouring an improvised chemical mixture into it. Geberit: bathroom odour sources.
When the smell remains
A persistent smell does not always mean that more disinfectant is needed. A rarely used fixture may have a dry trap—the water barrier that normally blocks drain odours. Running water can replenish that barrier. Geberit: cleaning the trap.
If the smell remains, drainage stays slow, or there is backing-up or leakage, arrange a plumbing assessment.
The cleaning task is the accessible, removable component. Clearing internal pipe blockages and repairing plumbing are separate jobs.
7. Clean the toilet, including the hinges and base
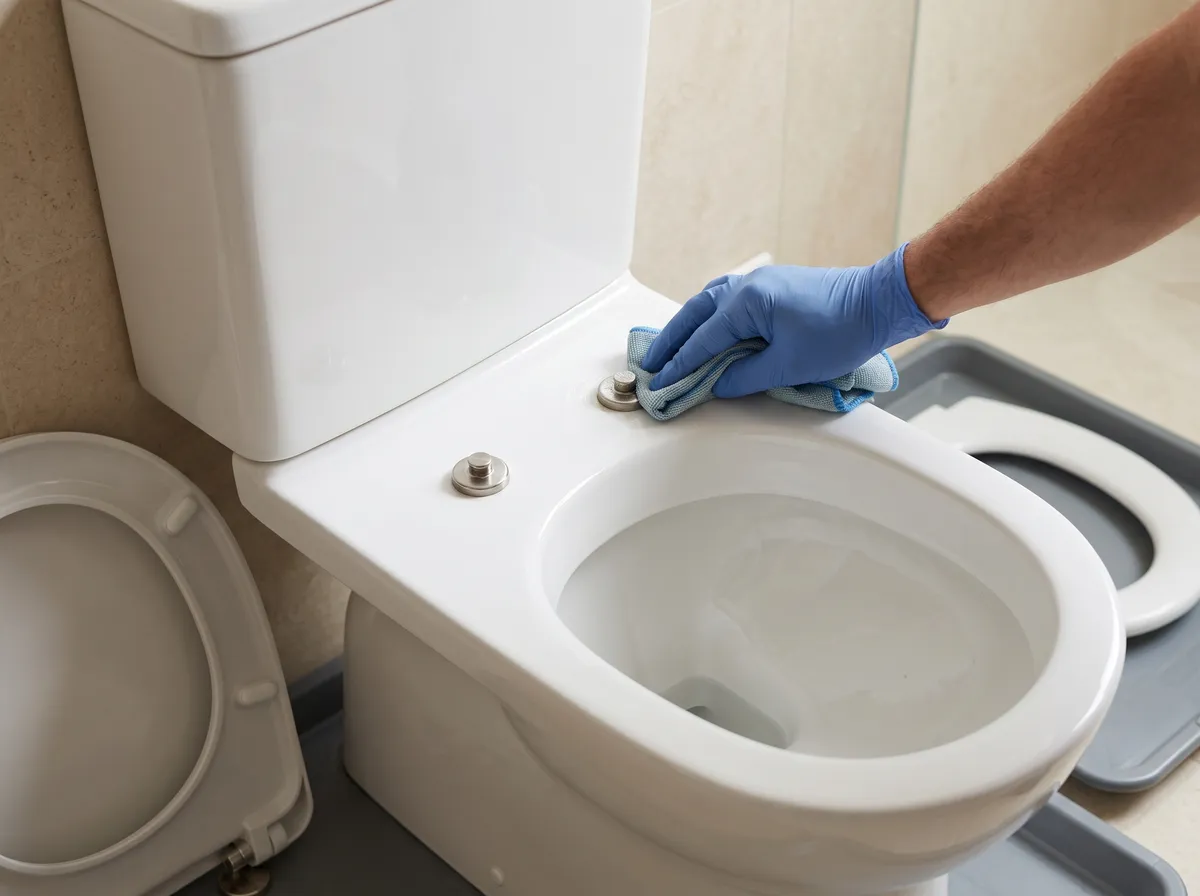
Keep toilet tools separate from the rest of the room.
Work through the flush control, tank exterior, lid, seat, hinges and outside of the bowl. Use a product suitable for each material. Toilet-bowl cleaner belongs inside the bowl, not on the seat, fittings or nearby cabinetry. Kohler: toilet care instructions.
Where the seat has a manufacturer-designed quick-release feature, remove it as instructed to reach the mounting area. Clean the seat and exposed surfaces, dry them and refit the seat securely. Quick-release seats are designed to make these areas more accessible. Kohler: removable toilet seats for cleaning.
Clean beneath the rim and around the waterline using the bowl product's directions. Finish the accessible base, floor edges and the area behind the toilet.
After cleaning, disinfect suitable touchpoints when needed using a compatible product. Allow the full labelled contact time before wiping or rinsing as instructed. Routine cleaning is sufficient for many household situations; additional disinfection is particularly relevant when someone is ill or at higher risk. CDC: when to clean and disinfect.
8. Finish the overlooked details and floor
Check mirrors, towel rails, handles, cabinet fronts, reachable ledges, the bin and the bases of toiletries before returning them.
Apply mirror cleaner to the cloth rather than soaking the mirror's edges or frame. Clean empty storage interiors where included, then dry them before replacing items. American Cleaning Institute: cleaning hard surfaces.
Include accessible ventilation-cover dusting in the plan. Before removing a fan grille, isolate its power as the manufacturer directs and use safe access. Keep water and steam away from the motor and electrical parts; only wash a removable cover when its instructions permit it. Broan-NuTone: fan care and safety instructions.
Finish the floor with fresh cleaning materials. Work around the doorway, toilet base and accessible cabinet edges. Remove cleaner residue and excess water: leftover products can affect the slip resistance of tile. Daltile: floor care.
Clean and prepare reusable tools for their next use, and keep used cloths separate from fresh supplies.
9. Check the result—and recognise when cleaning is finished
Use this checklist before putting everything back.
Bathroom deep-cleaning completion checklist
| Area | Completion check | Done |
|---|---|---|
| Shower glass and tracks | Accessible faces, edges and tracks checked; remaining marks identified | |
| Tile and grout | Dirt and cleaning residue removed; test area reviewed after drying | |
| Bath or shower base | Waterline, corners and areas beneath toiletries checked | |
| Basin and taps | Basin, tap bases, handles, spout underside and visible overflow checked | |
| Removable drain parts | Hair and residue removed; any agreed sanitising step completed; parts refitted and tested | |
| Toilet | Bowl, rim, seat, hinges, exterior and accessible base completed | |
| Storage and details | Requested interiors, mirrors, handles, ledges and bin checked | |
| Floor | Corners and edges cleaned; residue removed; floor ready for use | |
| Outstanding concerns | Damage, persistent smells, drainage issues or moisture concerns recorded |
Let’s Get It Clean · letsgetitclean.ca/blog/bathroom-deep-cleaning-guide/
A dull patch on polished stone may be etching rather than dirt. Split silicone or deteriorating grout needs repair assessment. Repeatedly increasing the chemical strength or scrubbing pressure is not a sensible substitute for identifying the problem. Natural Stone Institute: care and cleaning.
Recurring suspected mould, musty smells or damp materials also need attention to the moisture source. Health Canada recommends professional help for extensive growth or mould that keeps returning. Health Canada: moisture and mould.
For professional cleaners: Record what was cleaned, which components were removed and refitted, and any issue left for another trade. Review those points with the customer rather than leaving them to interpret the remaining marks or smell.
Keep the next deep clean manageable
After showering, remove visible hair from the catcher and use a squeegee or suitable cloth on the glass. Regular removal of water and soap residue helps limit the next buildup. Geberit: hair-catcher maintenance and DreamLine: shower-glass maintenance.
Use ventilation during and after bathing, address leaks promptly and check the lower glass, tap bases, grout corners and drain components during routine cleaning. Moisture control is an important part of preventing recurring mould problems. Health Canada: moisture and mould.
Keep a note of the products and methods that worked. The next clean should begin with an established approach, rather than another round of trial and error.
Professional bathroom detailing with Let’s Get It Clean
For bathrooms included in a residential deep clean, share overview photographs and close-ups of difficult areas before the appointment. Identify delicate finishes, removable components you would like assessed and any products already used.
At Let’s Get It Clean, we prepare fresh cleaning supplies, select methods for the surfaces involved and quality-check every completed clean through a team lead. Internal pipework, drain-system servicing and restoration remain separate from our cleaning service. Explore our cleaning process.
Plan Your Deep Residential Clean with Let’s Get It Clean
Illustrations on this page are AI-generated and are not photographs of completed customer projects. Always follow the instructions for your actual equipment and fittings.
Bathroom deep cleaning: a quick summary
- Start with the surface and the buildup. Test a suitable method on a small area before treating the whole room.
- Use steam selectively. Confirm grout compatibility, follow the machine's safety instructions and collect the loosened dirt.
- Clean removable drain components. Remove hair and residue, sanitise where appropriate, then reassemble and test.
- Keep tools separated. Toilet and drain-cleaning tools should not return to taps, mirrors or other surfaces.
- Finish with a walkthrough. Check the overlooked details and identify damage, persistent odours or drainage problems that need another solution.